
Dough and baking basics
A starting point for anyone new to making pizza dough at home — flour, water, salt, yeast, and what changes between the styles in the Dion's Pizza cookbook.
The four ingredients
Flour, water, salt, yeast
Hydration
Water as a share of flour
Fermentation
Warm and cold ferments
High heat
Stone, steel, and the broiler
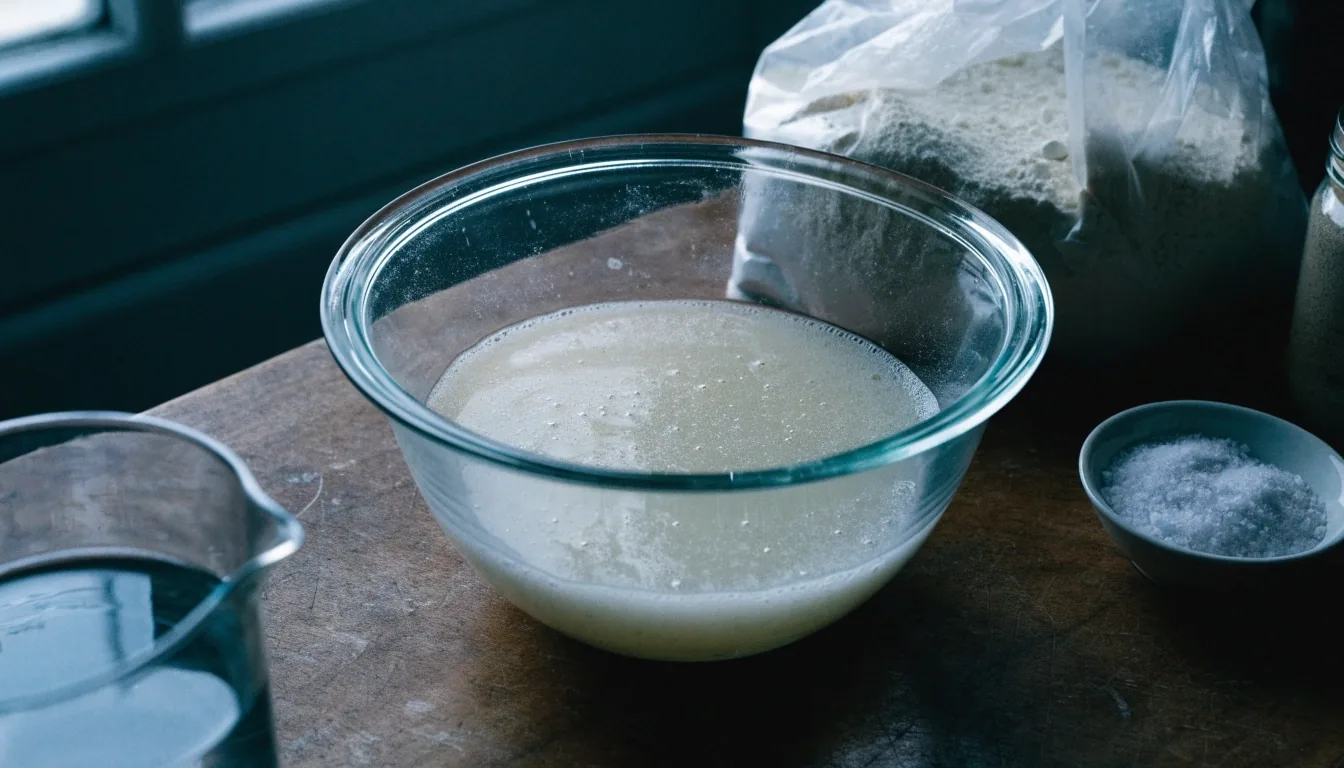
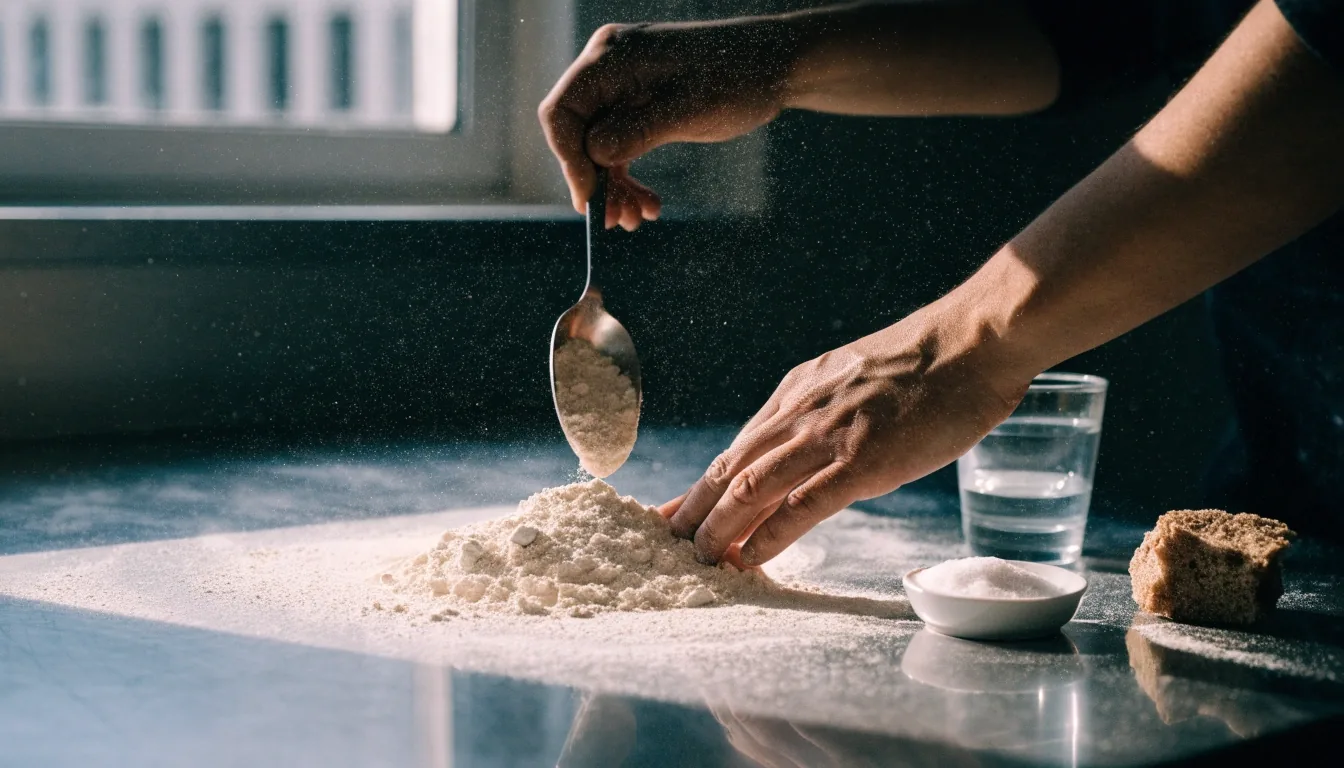
Pizza dough is flour, water, salt, and yeast. That is the whole list. What changes between recipes is the ratio of water to flour, the amount and type of yeast, and how long you let it ferment. Sugar, oil, and milk show up in some styles and not others, and none of them are required to make a dough that stretches and bakes well.
Learn to handle the basic four and most of the recipes in the book become variations on a skill you already have. A wetter dough, a longer ferment, a little more salt — those are adjustments, not new techniques.
The four ingredients
Everything else in a dough recipe is optional and depends on the style you are chasing.
See the cookbook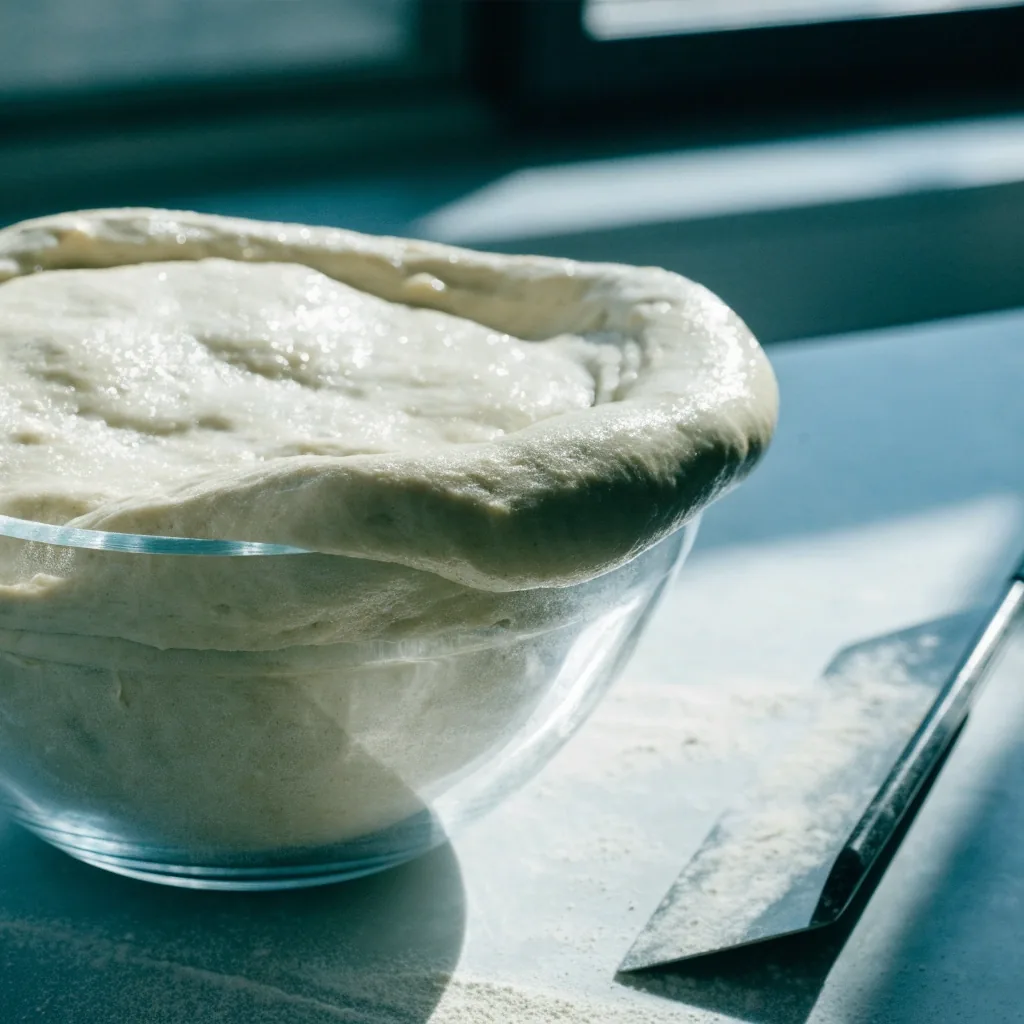
Hydration explained
Hydration is the weight of water as a percentage of the weight of flour. Nothing more complicated than that.
- 60% hydration
- Stiff, easy to handle, forgiving on a first bake
- 60 to 65%
- The range most beginners settle into
- 65% and up
- Sticky and slack, closer to a Neapolitan dough
A wetter dough gives a more open crumb but is harder to stretch. If a recipe fights you, drop the water before you blame the flour.
Why fermentation matters
Fermentation is where flavor comes from. The book uses both a short warm ferment and a cold ferment in the refrigerator over one or more days, depending on the style you are making.
Short warm ferment
A few hours on the bench, dough ready the same day
Cold ferment, one day
More flavor, easier to stretch, still simple to schedule
Cold ferment, several days
The deepest flavor in the book, and the most forgiving dough to shape
If you have time, the cold ferment almost always gives a better crust. A dough that has rested in the refrigerator overnight handles like a different material the next day — it stretches instead of snapping back, and it browns more evenly in the oven.
Poolish and biga
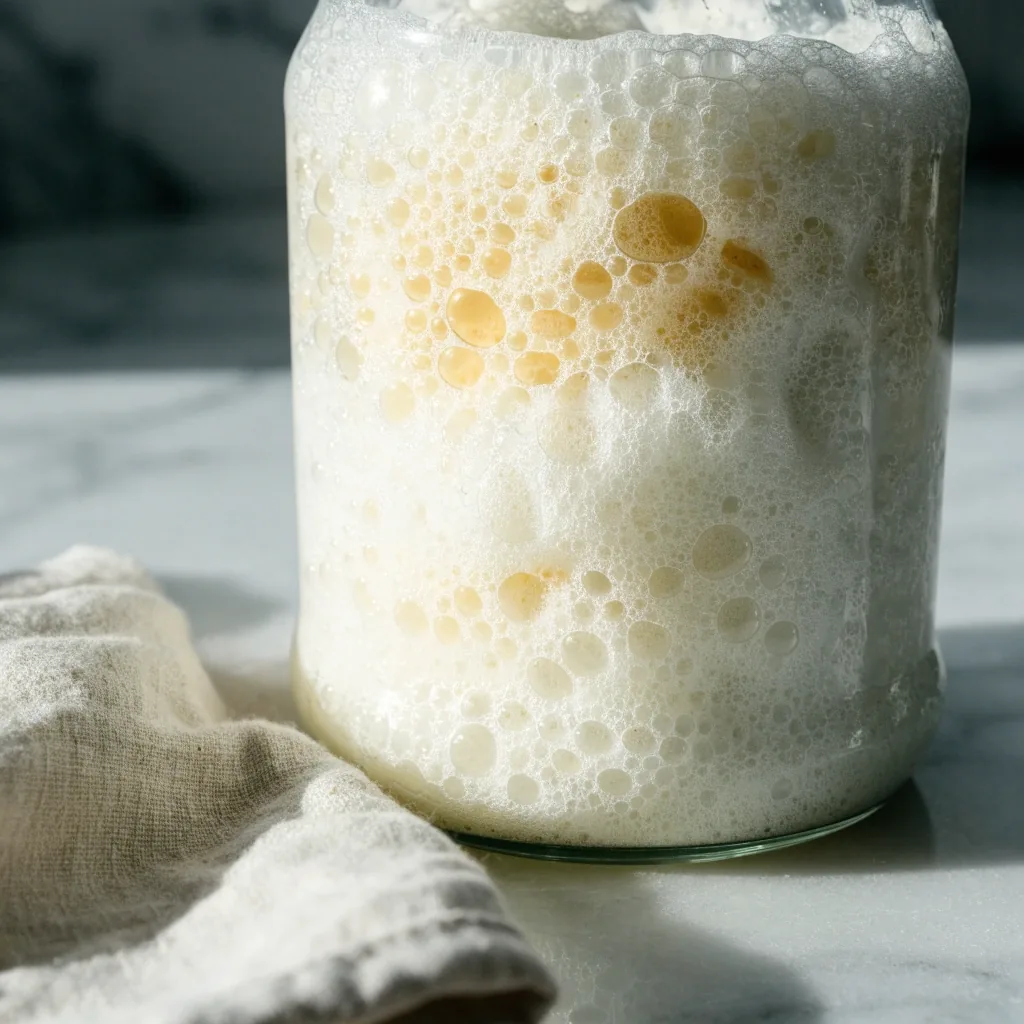
Poolish and biga are pre-ferments: a portion of the flour, water, and a little yeast mixed ahead of the main dough and left to ripen. Poolish is wet and loose. Biga is stiffer. Both add flavor and improve the texture of the final crust without requiring a sourdough starter.
They are a good middle step if you want more complexity than a straight dough but are not ready to maintain a starter. Mix them the night before, leave them covered on the counter or in the refrigerator, and fold them into the main dough the next day.
Sourdough starters take days to establish and need regular feeding. If you already keep one for bread, the sourdough recipes in the book will fit your routine. If not, the pre-ferments are a gentler introduction.
Proofing and shaping
Proofing is the final rise after the dough is divided and shaped into balls. It relaxes the gluten so the dough stretches without snapping back. Give it the time the recipe asks for and the shaping gets easier; rush it and you will feel the difference in your hands before the dough ever reaches the oven.
Shaping is mostly about gentle handling. Press from the center outward and leave the outer edge alone if you want a puffy cornicione. Do not overwork it. A dough that fights you usually just needs more rest — cover it, walk away for ten minutes, and come back.
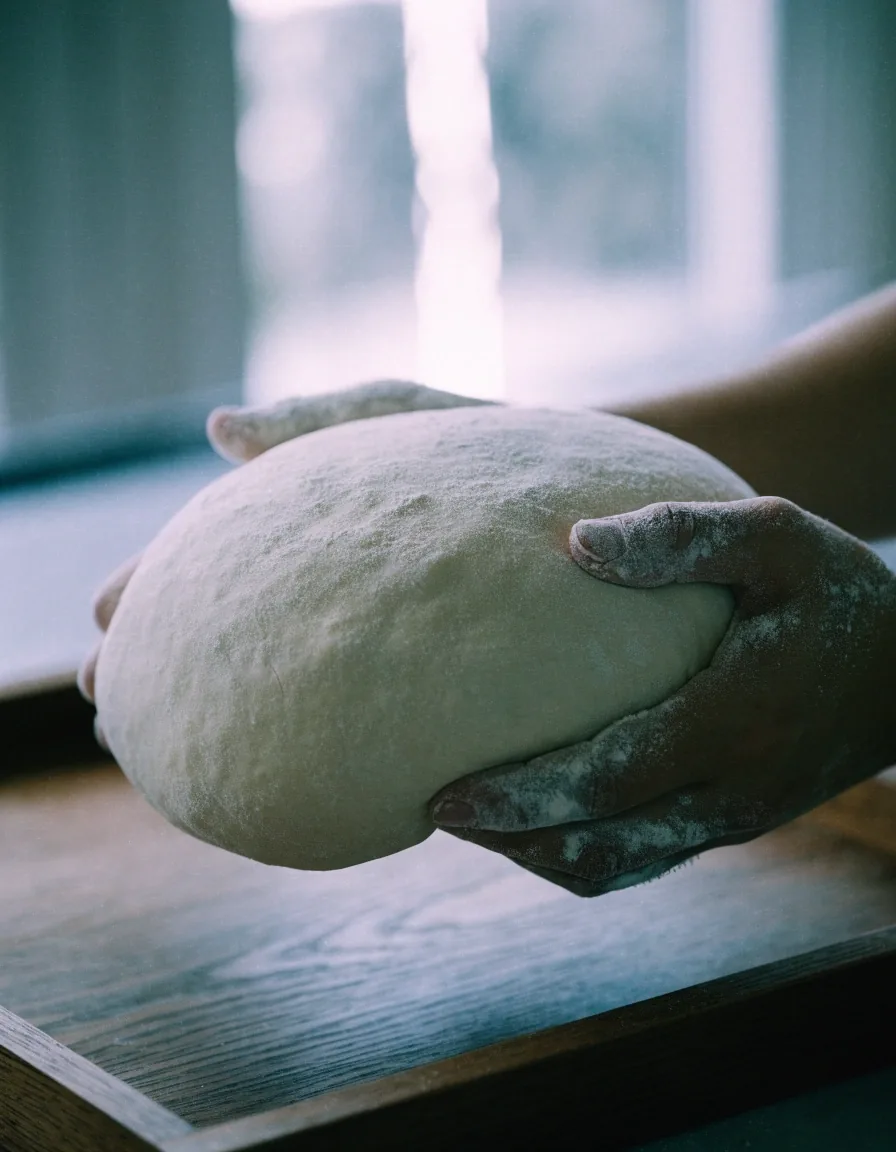
Once you can open a ball of dough without tearing it, you can bake almost any style in the collection. The technique carries across Neapolitan, New York, and pan styles far more than any single recipe does.
Browse the recipe collectionBaking at high heat
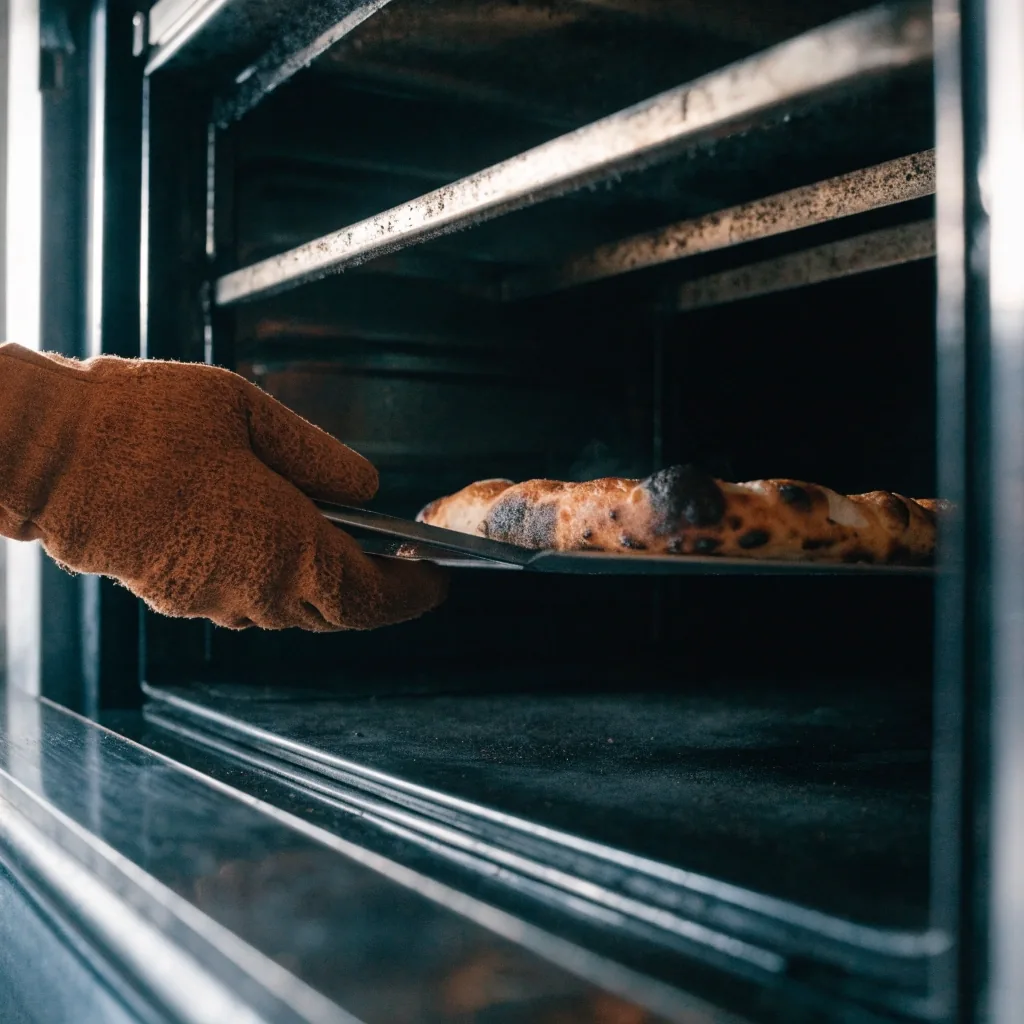
High-heat baking means a very hot oven and a stone or steel that has had time to absorb that heat. A steel transfers heat faster than a stone, which helps in a standard home oven. Preheat for at least 45 minutes, and if your oven has a broiler, use it near the end for color. A pizza baked on a cold surface will steam instead of crisp.
Stone
Slower heat transfer, gentler on the base, a good first purchase
Steel
Faster heat transfer, quicker spring, better in a standard home oven
Broiler
Use it near the end of the bake for color on the crust and toppings
Working with a standard home oven
Most home ovens top out around 500°F, which is below what a wood-fired oven reaches. You can still make good pizza. Use a steel or stone, preheat thoroughly, and keep the toppings light so the crust can set before the surface dries out. The book includes home-oven instructions alongside the high-heat versions, so you are not left to improvise on bake day.
Common problems and fixes
Most of these have a simple fix, and the book's troubleshooting section walks through them one at a time. Open the one that matches what you are seeing on the bench.
The dough tears when I stretch it
It usually needs more rest. Cover it and give it ten minutes, then try again with a lighter touch. Tearing is a sign of tight gluten, not of a bad dough.
The dough will not stretch at all
It is often under-proofed or too cold. Let the ball come closer to room temperature and give the proof more time before you shape it.
My crust comes out pale
A pale crust usually means the surface was not hot enough. Preheat longer, check that your stone or steel has had its full heating time, and finish with the broiler if you have one.
The center turns out soggy
Too much sauce or wet toppings. Drain anything that holds water, spread the sauce thin, and keep the middle of the pie lighter than the edge.
Building a routine
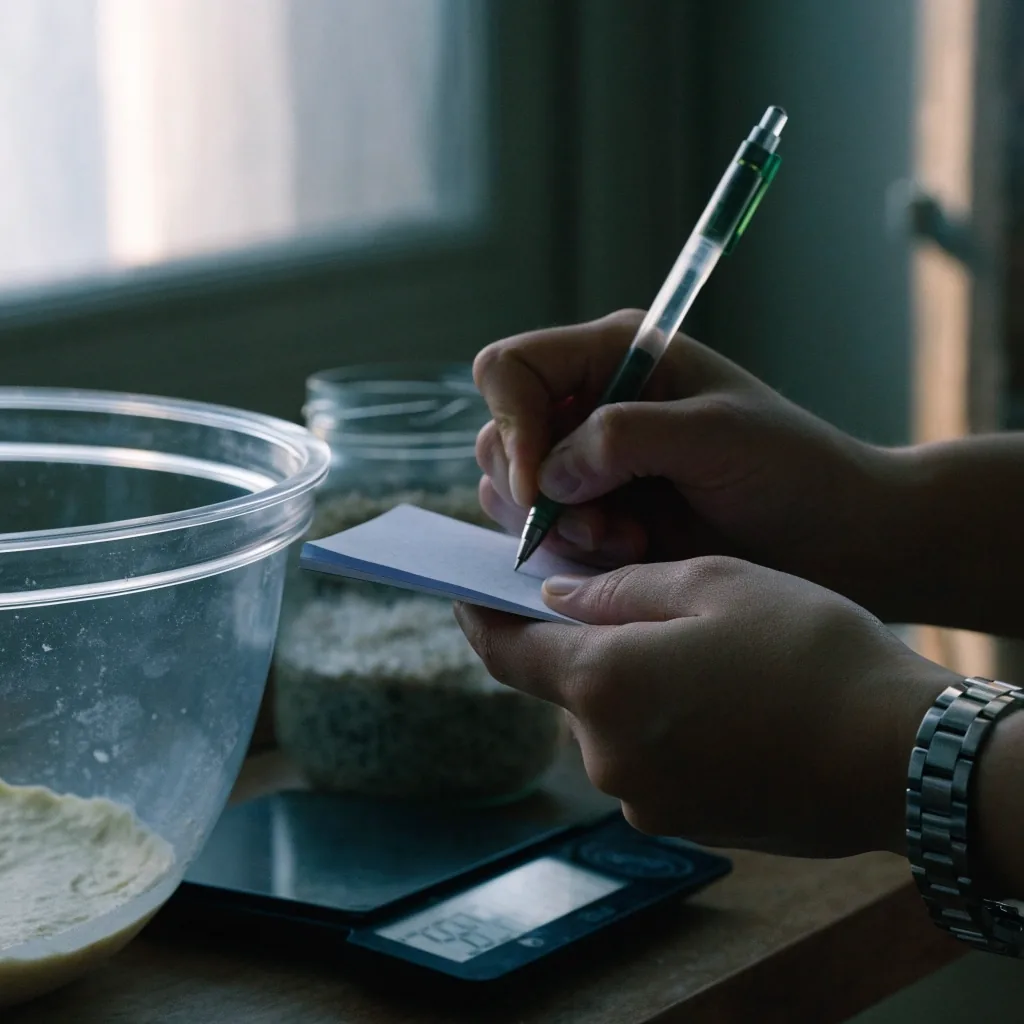
The fastest way to improve is to make the same dough several times and change one thing each time. Keep notes on hydration, ferment length, and bake time. Within a few bakes you will know what your oven and your flour want, and the recipes become easier to adjust.
That habit is what turns a cookbook into a skill. Start with the basic four ingredients, pick a fermentation window that fits your week, and bake the same pie twice before you change anything. The Dion's Pizza collection is built to be worked through that way — one style at a time, one variable at a time.
Ready to compare styles before you pick a dough? Compare pizza styles and see which dough matches the crust you want.
Cook from the book with fewer surprises
The cookbook carries the home-oven instructions, the pre-ferment schedules, and the troubleshooting notes that back up everything on this page. The recipe collection shows the range — regional styles, pan pizzas, and the classics most people start with.
Questions before you start baking
Write to the kitchen and we will point you to the right chapter.
- [email protected]
- Phone
- +1-312-555-0483
- Hours
- Monday–Friday 9:00 AM – 6:00 PM · Saturday 10:00 AM – 4:00 PM · Sunday closed